
Affiliate disclosure: This article contains affiliate links. We may earn a commission if you purchase through them, at no extra cost to you.
An off-grid handwashing station for camping needs just four things: a water supply, a way to dispense it hands-free, soap, and somewhere for the waste water to drain. You can build a serviceable one in ten minutes with a water container with a spigot, a bucket, and a bar of biodegradable soap. The real decisions are where you put it, how you keep it supplied with water, and how you handle the greywater, and this guide walks through each of those steps.
Key takeaways
- Place your handwashing station between the toilet and the cooking area so people pass it naturally; handwashing only works if it’s the easiest option.
- Water supply options range from jerrycans and jugs to rainwater catchment; even a small setup should plan for around a few litres of water per person per day for handwashing alone.
- Atmospheric water generation (AWG) is a genuine off-grid option in humid conditions, but DIY builds are supplemental sources, not primary supplies: realistic output is modest and depends heavily on humidity.
- Use plain soap, not antibacterial gimmicks, and keep the soap at the station so it actually gets used.
- Collect greywater in a bucket and scatter or dispose of it well away from water sources, tents and the cooking area.
Why bother with a dedicated campsite hygiene station?
Hands are the main route by which bugs spread around a campsite, from the toilet to food and from shared surfaces to faces. A proper campsite hygiene station setup removes the excuse of “there’s nowhere to wash” and makes the healthy behaviour the default behaviour. It matters most at festivals and shared campsites, but it is just as relevant for a family tent pitch or an RV trip where the onboard supply is limited.
The good news is that a camping handwashing DIY project is one of the cheapest improvements you can make. Most of the parts are probably already in your kit.
What you need to build a basic off-grid handwashing station
The classic three-container design has been used on campsites for decades because it works:
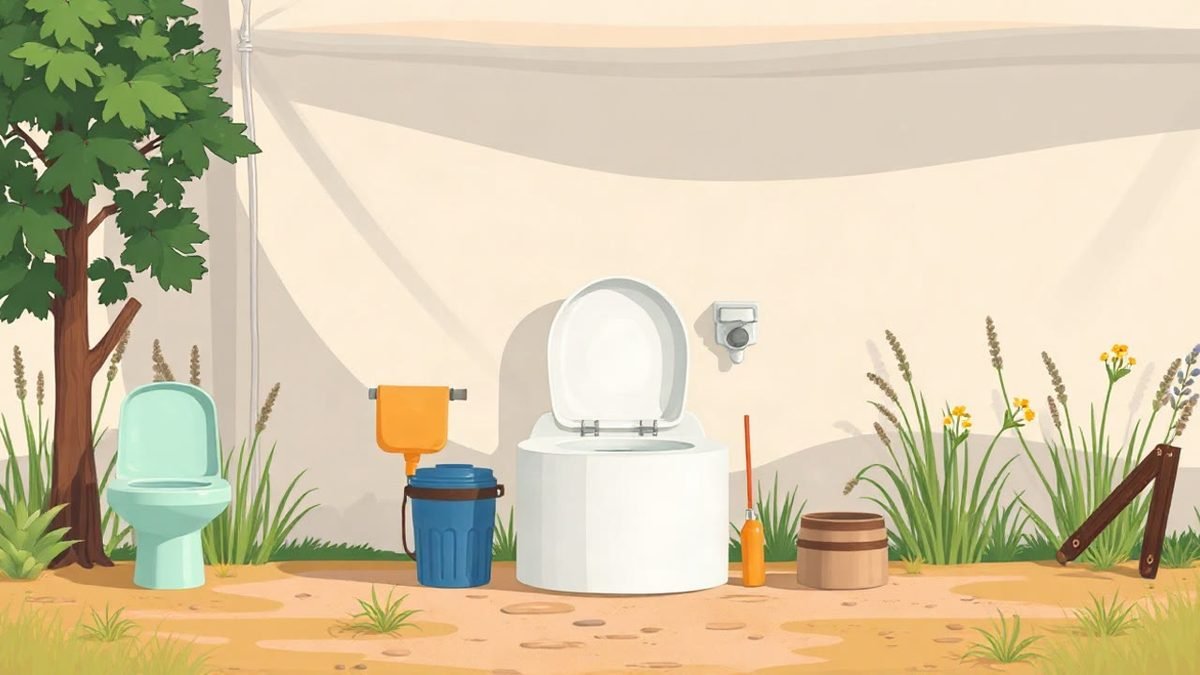
- Water container with a spigot or tap. A jerrycan with a tap, a large drinks dispenser, or a dedicated camp wash jug. Hands-free (foot-pump or gravity-spigot) designs are more hygienic because nobody touches the tap with dirty hands.
- Collection bucket. Placed under the spigot to catch greywater. A bucket with a lid is ideal so it can be carried and emptied without slopping.
- Soap. Liquid soap in a pump bottle or a bar in a draining dish. Keep it attached to or right beside the station.
- Optional extras: a towel on a line or hook (paper towels are easier to keep hygienic at shared sites), a splash mat, and a shelf or crate to raise everything to a comfortable height.
Raise the whole thing on a crate or folding table. A spigot at about chest height means people aren’t crouching, and it gives room for the collection bucket underneath.
Where should you place a camping handwashing station?
Placement determines whether the station actually gets used. The two positions that matter most are:
- Between the toilet and the kitchen. Anyone walking from one to the other passes it automatically. This is the single most effective placement decision you can make.
- At the entrance to the cooking area. A second station (even a simple jug-and-bucket) at the food prep zone catches hands before they touch food.
Practical siting points: choose level, firm ground; keep it out of the main walkway so the bucket isn’t kicked over; place it in shade if possible so the water stays cool; and position it downslope and well away from any stream, lake or spring so greywater never reaches a natural water source (check local guidance for the recommended distance in your area).
Off-grid water for camping hygiene: what are your options?
Stored water: the default
Jerrycans, collapsible jugs and RV fresh tanks are the simplest answer. Handwashing uses surprisingly little water: a few litres per person per day is a sensible planning figure if you use a low-flow spigot and encourage a brief-but-thorough technique rather than a long rinse. If you’re unsure how to keep stored water safe, our guide on how to store and purify water for camping covers containers, treatment and shelf life in detail.
Rainwater catchment
A tarp or awning angled into a bucket costs nothing and can top up your wash supply during a wet trip. Untreated rainwater is fine for handwashing at most campsites but shouldn’t be treated as drinking water without proper filtration and disinfection (again, the purification guide above covers the basics).
Atmospheric water generation: when air is your source
A third option is pulling moisture out of the air. Atmospheric water generators condense humidity into liquid water, and their output depends on humidity, temperature, airflow and power availability; in other words, they work well in warm, humid air and poorly in cold, dry conditions.
For hands-on campers who want an off-grid backup source, Joseph’s Well is a DIY guide that teaches you to build your own atmospheric water generator from hardware-store parts; it’s a digital guide with videos, blueprints and a parts list, not a shipped appliance, and many builds start from a standard dehumidifier. According to the seller, the system can produce a meaningful daily supply in favourable humidity, though independent reviews note that output figures in the marketing conflict and that a realistic build is best treated as a supplemental source rather than a primary one; the underlying dehumidifier in most builds is rated at roughly 3.75 gallons per 24 hours under the right conditions (Backyard Freedom Lab). Reviews also stress that condensed water needs food-safe components and real filtration before it’s considered potable, and that readers in arid climates are usually better served by rainwater catchment or stored water (Backyard Freedom Lab). It suits hands-on people in humid climates who want an emergency or backup water source; it does not suit anyone wanting a plug-and-play machine, and it needs mains or generator power to run the compressor. It’s sold as a one-time digital purchase with a money-back guarantee, but verify current pricing and terms on the official site before buying (Newswire).
For a handwashing station specifically, the filtration requirement is far less demanding than for drinking water, which makes an AWG build a more reasonable fit for hygiene use than for consumption; it still needs power, humid air and a water storage container, so weigh it against simply carrying more water.
Soap, towels and technique at the station
Which soap should you use?
Plain soap does the job: the mechanical action of lathering and rinsing is what removes dirt and microbes. Choose a biodegradable soap and use it sparingly, because even biodegradable products harm aquatic life if they end up in streams. Liquid soap in a pump bottle stays cleaner than a shared bar at group sites; at solo camps, a bar in a draining dish is lighter and lasts longer.
Technique matters more than temperature
Cold water and soap is effective, as you don’t need hot water for handwashing to work. Take your time lathering, covering backs of hands, thumbs and between fingers, then rinse and dry. Drying matters: damp hands pick up and transfer more dirt than dry ones, so provide a towel, air-dryer line or paper towels.
Handling greywater: drainage and disposal
Never let wash water run straight onto the ground in one spot, as it creates mud, smells and attracts insects. Instead:
- Collect all greywater in the bucket under the spigot.
- When it’s a third to half full, carry it well away from tents, the cooking area and any water source, following local guidance on minimum distances from natural water sources.
- Scatter it broadly over vegetation or gravel so it filters through soil and evaporates, rather than pooling.
- At established campsites and festivals with facilities, use the designated disposal point or greywater drain rather than scattering (check the site rules).
Empty the bucket daily, more often in hot weather or at busy group sites. Give the bucket a scrub occasionally, and drain the whole system completely before packing away or before a hard freeze.
Keeping the station clean and running through the trip
A hygiene station that becomes filthy defeats its purpose. A short daily routine keeps it in order: top up the water container, wipe the spigot handle (the one thing everyone touches), empty and scatter greywater, check soap levels and refresh the towel. Once a week on longer trips, give the containers a proper rinse and leave everything to dry in the sun.
In freezing conditions, drain the system overnight or insulate the container, as a frozen spigot ends the trip’s handwashing fast. In dusty conditions, keep the soap and towel covered or inside a lidded box.
Affiliate recommendation
Mentioned in this article: Joseph’s Well
Joseph’s Well is a DIY guide that, according to the seller, explains how to build a device that collects water from the air. It is instructions, not a ready-made machine.
Read the seller’s information →
Affiliate link: we may earn a commission if you purchase, at no extra cost to you. We have not tested this product.
FAQ
How much water does a camping handwashing station use?
With a low-flow spigot and brief technique, handwashing uses only a few litres per person per day, so a standard jerrycan can last a family several days between refills.
Can I use lake or river water in my handwashing station?
For handwashing only, water from a clear flowing source is generally acceptable in an emergency, though it’s better to filter or boil it first if the source is stagnant, cloudy or heavily used by livestock. Never wash directly in the source or dump greywater into it.
Do I need hot water for effective handwashing?
No. Soap and friction do the work; warm water is a comfort, not a requirement. Solar-heated water in a dark-coloured container is an easy luxury if you want it.
Is an atmospheric water generator a realistic water source for camping?
As a supplemental or emergency source in humid conditions, potentially yes, but it needs electricity, performs poorly in cold or dry air, and DIY builds from guides such as Joseph’s Well require hands-on assembly and produce a modest yield. For most campers, stored and rain water remain simpler and cheaper.
What’s the cheapest DIY handwashing station?
A £5 drinks dispenser on a crate, a bucket underneath, a bottle of soap and an old towel. Ten minutes of assembly, no specialist gear.
Final thoughts
A camp handwashing station is a twenty-minute project that pays for itself in fewer stomach bugs and less grime, whether you’re at a festival, a family campsite or boondocking in an RV. Start with stored water and a gravity spigot, place it between the loo and the kitchen, and manage your greywater properly. If you later want a genuine off-grid top-up source and you’re handy with tools, a DIY atmospheric water generator build is worth researching, alongside rainwater catchment, as a supplemental option. For everything downstream of the tap, our guide to storing and purifying water for camping is the natural next read.
Sources
- Joseph’s Well Review (2026): Honest Look at the DIY Water Guide
- Joseph’s Well Review (2026): Legit Water-From-Air or Hype? | Backyard Freedom Lab
- Joseph’s Well Review 2025 | Newswire